Laraberg image upload with laravel-filemanager – Laravel 8.x?

Few days back I was looking for Laraberg image upload with laravel-filemanager but I didn’t find that much result. So, I decided to figure it out own and share with others.
If you are also a fan of WordPress Gutenberg Editor then you might be familiar with Laraberg.
Laraberg is a Laravel package to use wordpress gutenberg editor with Laravel Framework.
When I used it, I found one issue there, that image uploading was not that much easy. I mean it just returns the image path and we need to take care of uploading it to the server.
I have used the Laravel-filemanager package to upload the images to the server and manage the media gallery.
So, let’s start this tutorial.
Install the Laraberg
I have directly jumped to the Laraberg installation, and I believe that you are already familiar with the Laravel installation.
Install the laraberg via composer
composer require van-ons/laraberg
Run the below command to publish the service provider of laraberg
php artisan vendor:publish --provider="VanOns\Laraberg\LarabergServiceProvider"
To integrate the assets like css and js, Gutenberg uses react, react-dom and jquery. So, include these CDN or downloaded files on the page where you want to use Gutenberg editor.
<script src="https://unpkg.com/react@17.0.2/umd/react.production.min.js"></script>
<script src="https://unpkg.com/react-dom@17.0.2/umd/react-dom.production.min.js"></script>
<link rel="stylesheet" href="{{asset('vendor/laraberg/css/laraberg.css')}}">
<script src="{{ asset('vendor/laraberg/js/laraberg.js') }}"></script>
It’s time to initialize the Laraberg Editor
In the blade file add the below textarea.
<textarea id="post-editor" name="post_html">
    @if(isset($post)) {!! $post->body !!} @endif
</textarea>
Then in the javascript call the laraberg and init it.
(function() {
                if (typeof Laraberg == 'undefined') {
                    console.warning('Laraberg not found!');
                    return;
                }

                Laraberg.init('post-editor', {
                    mediaUpload: mediaUploaded,
                    minHeight: '100vh',
                });
})


const mediaUploaded = ({
            filesList,
            onFileChange
        }) => {
	console.log(filesList);
}
As you can see, in the mediaUploaded arrow function we are getting the uploaded file. Now we need to upload this file to the server via laravel-filemanager.
Laravel-filemanager installation
Follow the documentation to install the laravel-filemanager.
Laravel-filemanager Routes
We have created the route to access laravel-filemanager as given in the documentation of Laravel-filemanager.
Route::middleware(['auth'])->group(function() {
   Route::get('/home', [HomeController::class, 'index'])->name('home');

   Route::group(['prefix' => 'filemanager'], function () {
       \UniSharp\LaravelFilemanager\Lfm::routes();
   });
});
JQuery Ajax to upload file to the Laravel-filemanager
If you still remember the above javascript arrow function which we have created to handle file uploading from Laraberg. It’s time to complete that function.
const mediaUploaded = ({
           filesList,
           onFileChange
       }) => {
           setTimeout(async () => {

               let formD = new FormData;
               Array.from(filesList).map(file => {
                   formD.append('upload', file);
               });

               const uploadedResponse = await $.ajax({
                   method: "POST",
                   url: `${APP_URL}/filemanager/upload`,
                   data: formD,
                   processData: false,
                   contentType: false,
                   success: function(response) {
                       console.log({
                           response
                       })
                       return response;
                   },
                   error: function(savePostErr) {
                       console.log({
                           savePostErr
                       })
                   }
               })


               const uploadedFiles = Array.from(filesList).map(file => {

                   return {
                       id: new Date().getTime(),
                       name: file.name,
                       url: uploadedResponse.url
                   }
               })

               console.log(uploadedFiles)

               onFileChange(uploadedFiles)
           }, 1000)
       }
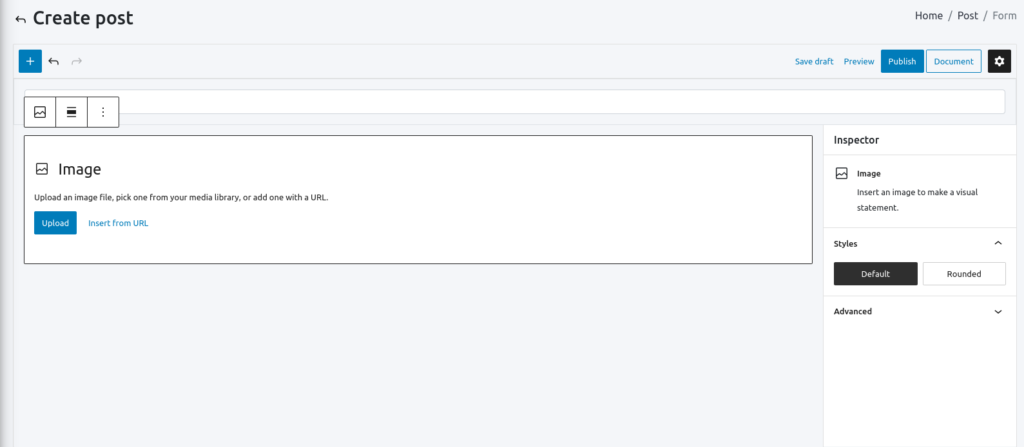
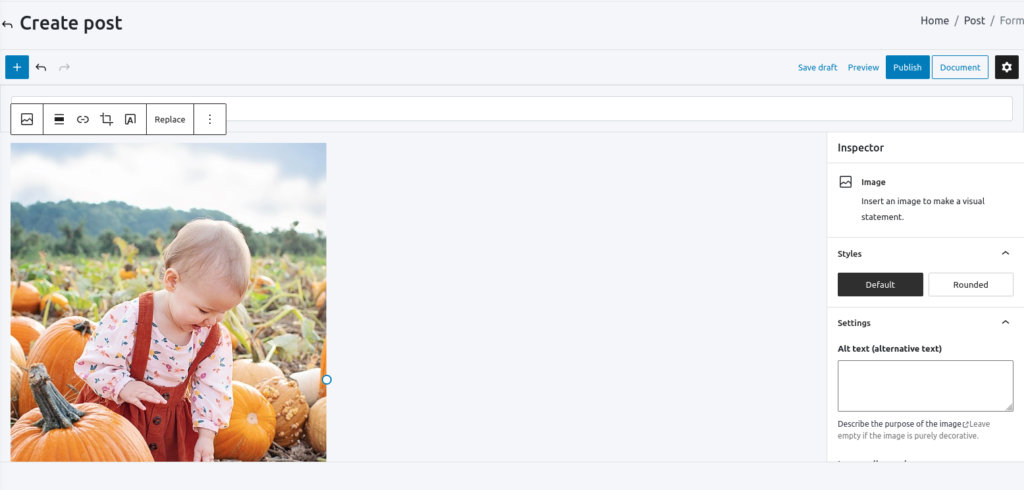
The final output is below in the images.
That’s it, Laraberg image upload with laravel-filemanager is done here.